

How insulation transforms your garden building’s efficiency
TL;DR:
- Proper insulation in garden buildings helps regulate temperature, reduce energy costs, prevent condensation, and extend structural lifespan.
- Choosing the right materials and installation techniques ensures optimal thermal performance, moisture control, and sound absorption.
- Investing in superior insulation from the start provides long-term comfort, lower bills, and avoids costly future repairs.
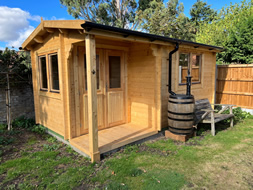
Insulation isn’t just about staying warm on a cold December morning. It’s one of the most important decisions you’ll make for your garden building, affecting your comfort in July just as much as in January. Done properly, insulation keeps heat in winter and blocks it in summer, cuts your running costs, stops damp from quietly rotting your structure from the inside, and even reduces noise from outside. Many homeowners treat it as an afterthought. This guide will show you exactly why that’s a mistake, and what to do instead.
Table of Contents
- Why insulation is essential for garden buildings
- Proven insulation methods and material choices
- Achieving maximum thermal performance: thickness, U-values, and regulations
- Condensation, ventilation, and installation pitfalls
- The uncomfortable truth most experts won’t tell you about garden building insulation
- Start your garden building upgrade with expert support
- Frequently asked questions
Key Takeaways
| Point | Details |
|---|---|
| Comfort and savings | Proper insulation keeps your garden building cosy year-round and cuts energy bills. |
| Material matters | Choosing between PIR and mineral wool depends on space, acoustic needs, and fire safety. |
| Focus on U-values | Aim for low U-values by combining appropriate insulation thickness and high-quality components. |
| Ventilation is vital | Balance airtightness with ventilation to prevent condensation and ensure a healthy space. |
Why insulation is essential for garden buildings
Most people assume their garden cabin will need a small electric heater and that’s that. The reality is more interesting. Without proper insulation, you’re not just losing heat in winter. You’re also turning your cabin into an oven in summer, and you’re creating the perfect conditions for condensation to silently damage your structure over time.
Good garden building insulation delivers far more than warmth. Here’s what it actually does for you:
- Thermal regulation: Keeps the interior comfortable year-round, warm in winter and cool when the sun is beating down in August
- Lower running costs: Less heating and cooling energy needed means noticeably smaller electricity bills over the lifetime of the building
- Condensation control: A correctly insulated and sealed building prevents warm, moist air from meeting cold surfaces and turning into water droplets that cause rot and mould
- Acoustic performance: Certain materials, particularly mineral wool, absorb sound effectively, which is a real bonus if you’re using the cabin as a home office or studio
- Structural longevity: Keeping moisture out preserves the timber frame, cladding, and internal finishes for years longer than an uninsulated equivalent
“Insulation in garden buildings primarily enhances thermal comfort by retaining heat in winter and blocking heat gain in summer, reduces energy costs for heating/cooling, prevents condensation and structural damage from moisture, and improves acoustic performance when using certain materials.”
It’s also worth thinking about how you plan to use your building. A seasonal summerhouse has different needs from a year-round home office or gym. The more time you spend inside it, the more every one of these benefits matters. Research consistently shows that cutting cabin heat loss is one of the most cost-effective upgrades you can make to any garden structure.
Having established why insulation matters, let’s explore the practical methods and materials that deliver these benefits.
Proven insulation methods and material choices
Walk into any builders’ merchant and you’ll find dozens of insulation products. The choices can feel overwhelming. The good news is that for garden buildings, two main material types cover most situations really well. Understanding their differences makes the decision much easier.
| Material | Thermal performance | Thickness needed | Acoustic benefit | Fire rating | Breathability |
|---|---|---|---|---|---|
| Rigid PIR board (e.g. Celotex, Kingspan) | Excellent (λ ~0.022 W/mK) | Slim, 75-100mm typical | Low | Good | Low |
| Mineral wool (e.g. Rockwool) | Good | Thicker, 150-200mm for same U-value | Excellent | A1 (highest) | High |
| Hybrid (PIR + mineral wool) | Excellent | Moderate | Very good | Very good | Moderate |
PIR boards offer superior performance per millimetre of thickness, which makes them ideal for garden buildings where wall depth is limited. Mineral wool needs more space to achieve the same thermal resistance, but it’s genuinely hard to beat for sound absorption and fire resistance. Many builders now use a hybrid approach, combining a thin PIR layer with mineral wool, to get the best of both worlds.
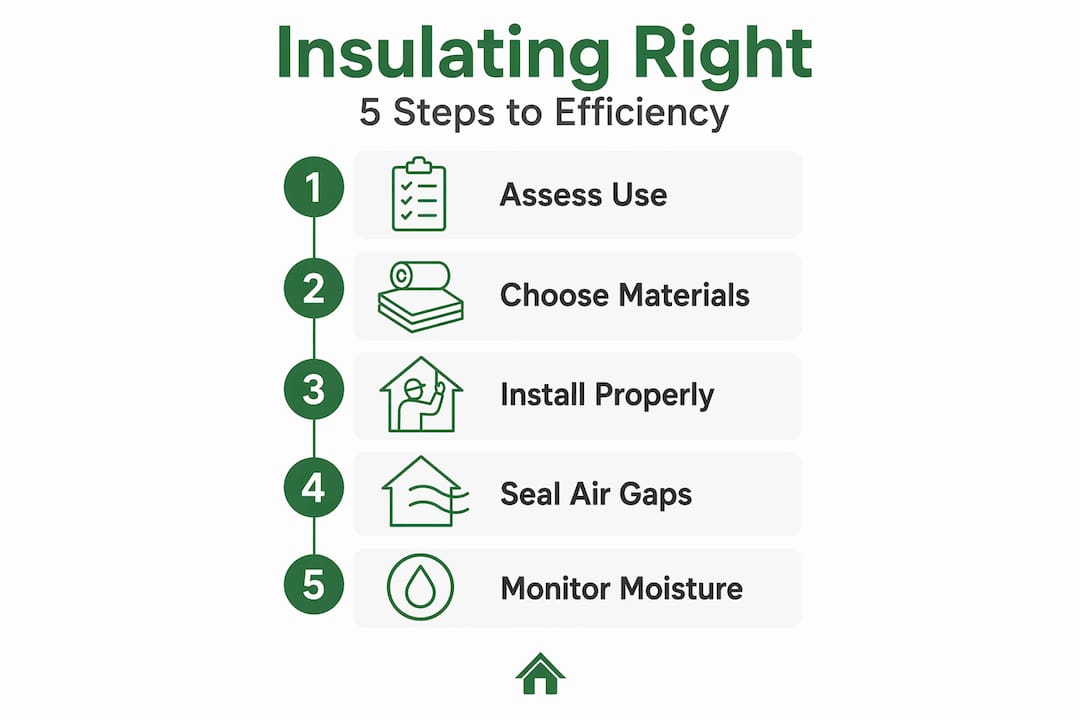
Beyond the materials themselves, there are several key techniques that determine whether your insulation actually works:
- Vapour control layers (VCL): These membranes sit on the warm inner side of the insulation and stop moisture-laden air from passing through into the structure where it would condense. Skipping this step is one of the most common and costly mistakes.
- Breathable external membranes: Fitted on the outside of the insulation layer, these allow any moisture that does enter to escape outward, preventing it from becoming trapped.
- Airtight sealing: Every joint, gap, and penetration in the insulation layer needs to be sealed. Even small gaps create cold bridges (points where heat bypasses the insulation) and allow moisture ingress.
- Glazing specification: Double or triple glazing with a U-value below 1.6 W/m²K completes the thermal envelope and prevents windows from becoming your building’s biggest weak point.
Pro Tip: Don’t just insulate the walls. Floors and roofs lose a significant proportion of heat, and many DIY insulation projects focus only on the walls. Insulating all six sides of the building envelope makes a dramatic difference to how the space actually feels and performs.
For smaller garden rooms where every centimetre of internal space matters, choosing the right insulation types for each application is well worth spending time on. A compact cabin benefits most from slim, high-performance PIR boards, while a larger garden studio with high ceilings might prioritise mineral wool for its acoustic and fire performance benefits.
With the core methods and material options set out, it’s time to look at how to implement insulation to maximise effectiveness.
Achieving maximum thermal performance: thickness, U-values, and regulations
U-values measure how much heat passes through a material. The lower the U-value, the better the insulation. It’s the single most useful number when comparing different insulation specifications, far more useful than thickness alone.
Here are the recommended insulation targets for a well-performing garden building:
| Element | Recommended PIR thickness | Target U-value |
|---|---|---|
| Walls | 75-100mm | 0.20-0.30 W/m²K |
| Roof | 100-150mm | 0.15-0.20 W/m²K |
| Floor | 75-100mm | 0.20-0.25 W/m²K |
The roof deserves the most insulation because heat rises and a poorly insulated roof is your biggest source of heat loss in winter and heat gain in summer. Prioritise it.
When it comes to UK regulations, here’s what you actually need to know:
- Small detached garden buildings under 50m² are generally exempt from Building Regulations Part L, which covers energy efficiency. This means there’s no legal minimum insulation standard for most garden cabins.
- Electrics are different. Any electrical installation needs to comply with Part P, which means using a qualified electrician regardless of the building’s size.
- Larger or multi-use buildings that include sleeping accommodation or exceed 50m² may require full compliance with Building Regulations. Always check with your local authority if you’re unsure.
- Exempt doesn’t mean optional. Just because your cabin doesn’t legally need to meet these standards doesn’t mean ignoring them is a good idea. The U-value targets in the table above align closely with Building Regulations, and meeting them is simply good practice.
A useful benchmark: buildings meeting these U-value targets typically use significantly less heating energy than those built to the bare minimum. That translates directly to lower bills and a more comfortable environment every single day you use the space.
Refer to the floor insulation guide if you want detailed step-by-step advice on achieving these targets underfoot, as floor insulation installation has its own set of practical considerations.
Thermal performance isn’t the full story. Moisture and air quality play an equally vital role. Let’s address these next.
Condensation, ventilation, and installation pitfalls
Here’s something many insulation guides don’t emphasise enough. You can have perfectly specified insulation and still end up with a damp, mouldy building if you don’t manage moisture and ventilation correctly. These two things work together, and getting the balance wrong is more common than you might think.

Condensation forms when warm, moist air hits a cold surface. In a well-insulated but sealed building with no ventilation, that moisture has nowhere to go. It accumulates, encourages mould growth, and can start to rot timber within a few seasons. Managing this well means addressing it from two directions at once.
Follow these steps to stay on top of moisture control:
- Install a vapour control layer correctly. It goes on the warm side of the insulation, which is the interior face. Make sure every seam is taped and every penetration (for sockets, lights, or fixings) is sealed.
- Use a breathable membrane on the outside. This lets any moisture that does reach the structure escape outward rather than becoming trapped.
- Fit trickle vents in your windows. These small, adjustable vents allow a continuous low-level flow of fresh air without draughts. They’re essential for maintaining indoor humidity between 40-60%, which is the healthy target range.
- Check flat roof details carefully. Flat roofs need a warm roof configuration, with insulation placed above the structural deck rather than between joists. Cold roof flat designs are a known cause of persistent condensation problems.
- Inspect your installation for gaps. Even a small unsealed joint at the corner of a wall or roof junction can dramatically reduce thermal performance and allow moisture in.
“Ventilation (trickle vents) is essential in airtight insulated builds to manage indoor humidity (40-60% RH); poor installation creates gaps reducing performance; summer overheating is mitigated by reflective insulation and ventilation.”
Pro Tip: After installation, use a simple plug-in hygrometer (a humidity monitor) inside your finished cabin. If relative humidity consistently sits above 65%, your ventilation needs improving before any structural damage has a chance to take hold.
For practical strategies on keeping your cabin’s air fresh and preventing moisture build-up, the ventilation strategies guide covers this topic in real depth. If you’d like a step-by-step practical approach, the advice on ventilating your garden cabin is a straightforward place to start.
Understanding moisture management and proper installation closes the circle. But what do most homeowners overlook in practice? Our perspective tackles this directly.
The uncomfortable truth most experts won’t tell you about garden building insulation
Here’s something we see regularly, and it’s worth being honest about. Many garden building buyers do the research, spec decent insulation, and then quietly cut corners during installation or accept a specification that just scrapes past the minimum.
The reasoning is understandable. The building is exempt from Building Regulations, so why spend more than necessary? It’s a false economy, and here’s why.
The difference in material cost between adequate insulation and excellent insulation is often a few hundred pounds on a typical garden room build. The difference in performance, and in the long-term cost of heating, cooling, repairing moisture damage, and replacing degraded materials, can easily run into thousands over a decade. Investing in best-practice U-values from the start isn’t a luxury. It’s simply the sensible financial decision when you look at the full picture.
We’ve also seen the hidden cost of poor vapour barrier installation time and again. A tiny gap in a VCL, the kind of thing a rushed installer might not notice, can allow enough moisture migration to cause significant timber degradation within three to five years. Redoing an internal wall to fix this kind of problem costs far more than doing it correctly the first time.
The buildings that perform best long-term share a few things in common. They’re insulated to exceed, not just meet, typical standards. Their vapour barriers are installed with care and fully taped. Their ventilation is sized correctly for the internal volume. And their owners check the condition of seals and ventilation every year or two as a matter of routine, not crisis management.
If you’re using the space as a home office, creative studio, or gym, you’re effectively adding a functional room to your home. Treat it with the same standard of care you’d apply indoors. That mindset shift makes all the difference. For a broader view on how this fits together in practice, the insulated garden rooms guide gives you a clear overview of what well-specified, well-built buildings look like from the ground up.
Start your garden building upgrade with expert support
Getting insulation right from day one is so much easier when your building is designed with it in mind from the start.

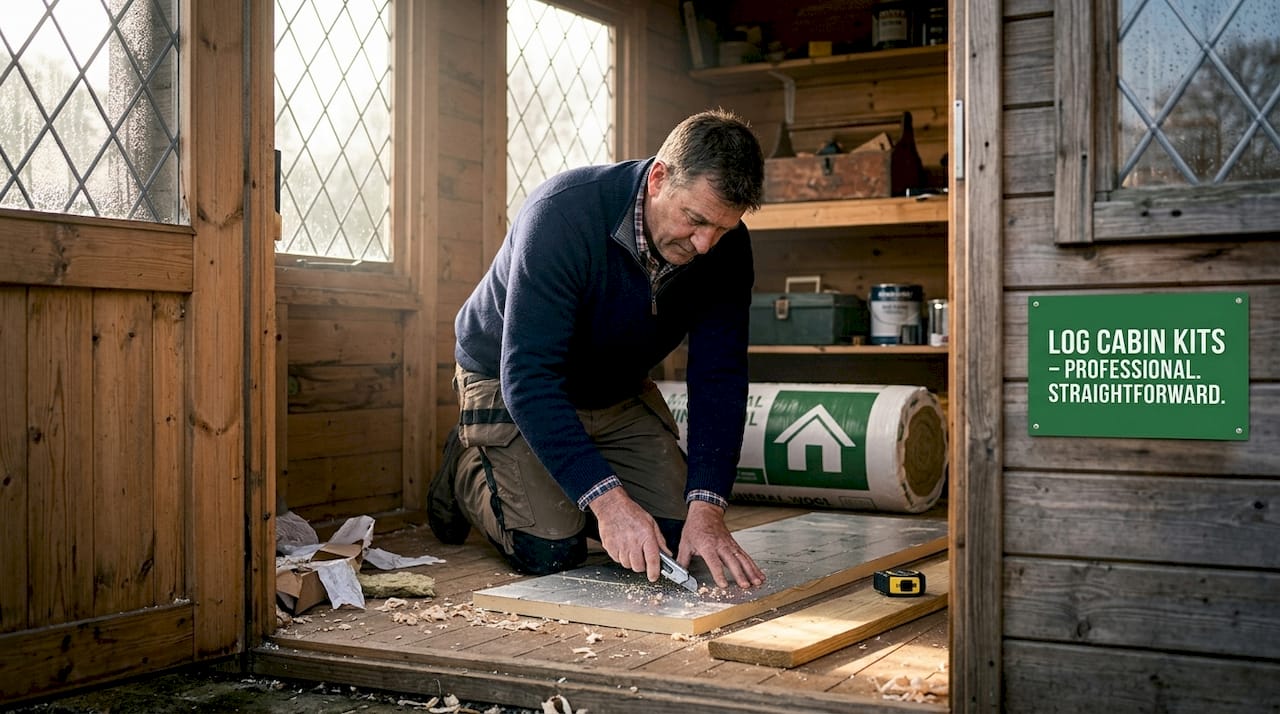
At Log Cabin Kits, our bespoke garden log cabins are designed to accommodate proper insulation from the frame outward, so you’re not retrofitting solutions into a structure that wasn’t built to accept them. Whether you know exactly what you want or you’re still working through the options, our bespoke cabin design service lets you tailor every aspect of your build to your specific needs, including wall thickness, roof specification, glazing, and ventilation. For something truly unique, our custom build log cabins team is ready to help you create a building that performs exactly as you need it to, all year round. Get in touch and let’s talk through what works best for your garden and budget.
Frequently asked questions
Do garden buildings under 50m² need to meet UK Building Regulations for insulation?
No, small detached garden buildings under 50m² are exempt from Part L energy efficiency requirements, but matching or exceeding these standards is strongly recommended for real long-term savings and comfort.
What is the best insulation material for small garden buildings?
Rigid PIR boards deliver the best thermal performance per millimetre, making them ideal for space-limited builds, while mineral wool offers superior sound absorption and fire resistance; combining both works well for larger or multi-use spaces.
How does condensation affect garden buildings and how can it be controlled?
Condensation causes timber rot and mould growth over time; controlling indoor humidity through trickle vents, correctly installed vapour barriers, and breathable external membranes is the most effective approach.
What U-values should I aim for in my garden office walls, roof and floor?
Target U-values of 0.20-0.30 W/m²K for walls, 0.15-0.20 W/m²K for the roof, and 0.20-0.25 W/m²K for the floor to achieve excellent energy efficiency that will keep running costs low year-round.